Designing the Diorama
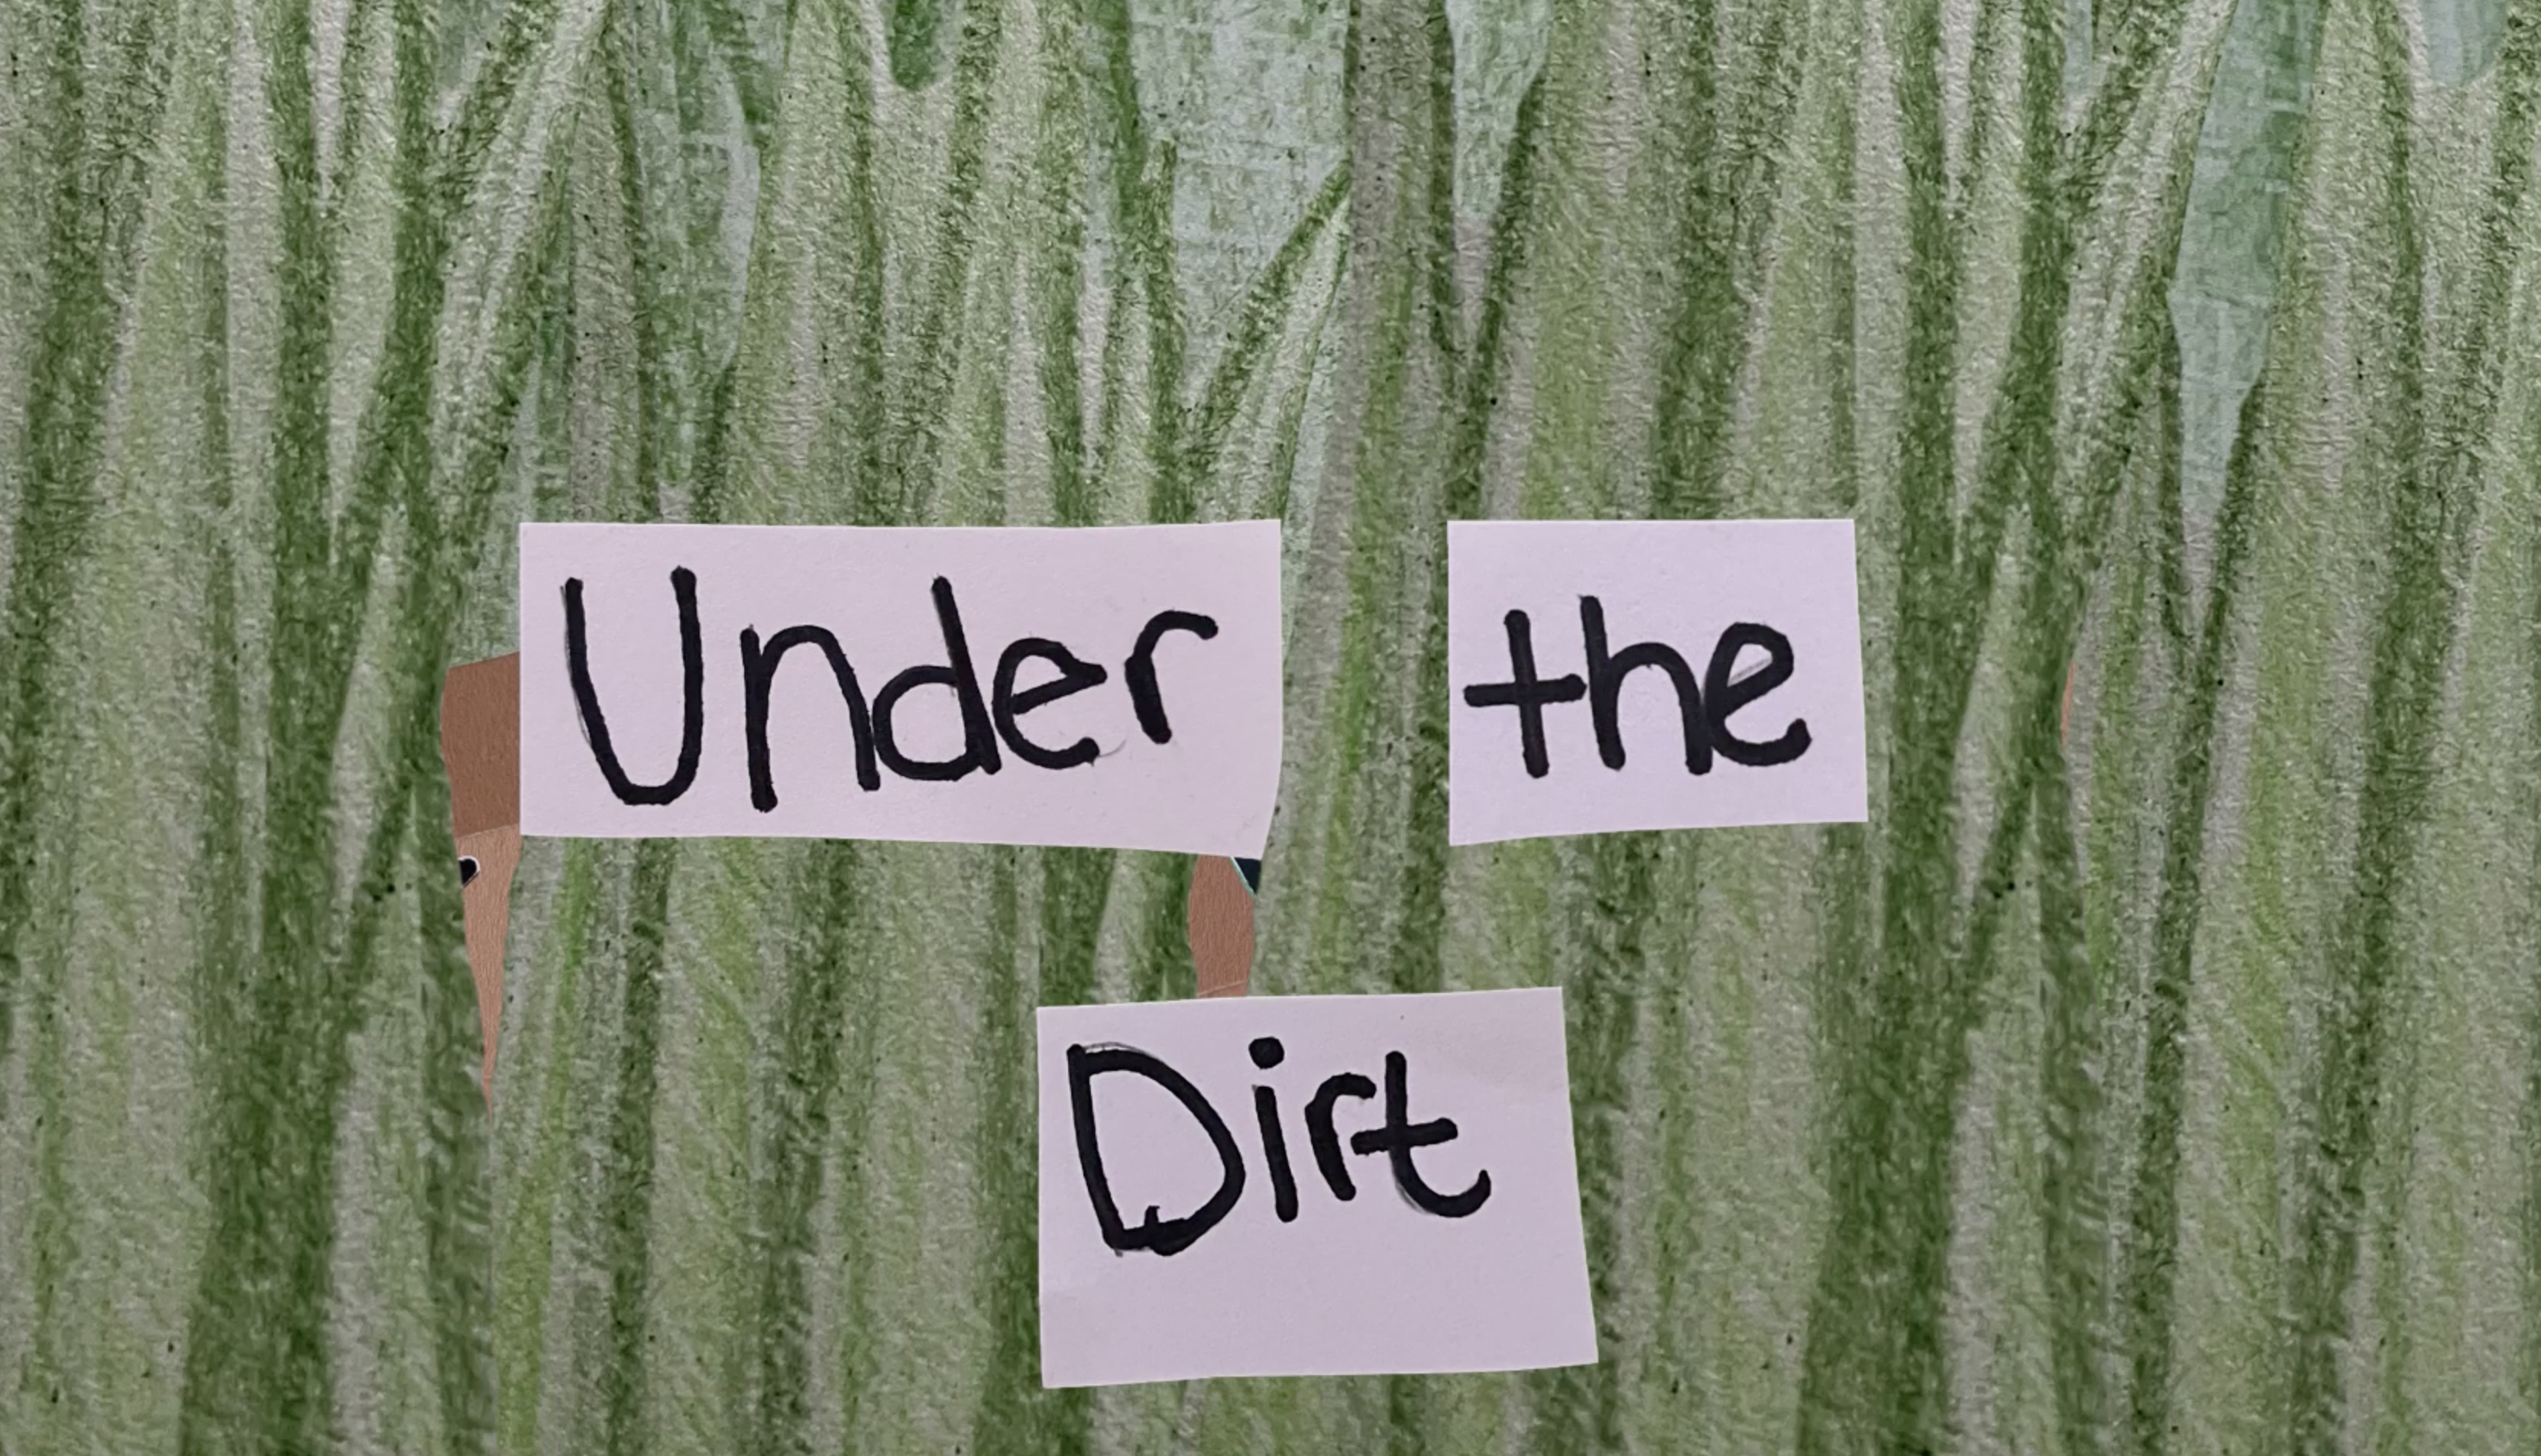
As a design student, I was asked to create a fifteen second diorama with a topic of my choice using Adobe After Effects. The diorama must have an opening and closing “curtain.” To enhance the animation, be sure to add a mix of audio components, music and sound effects should be included.
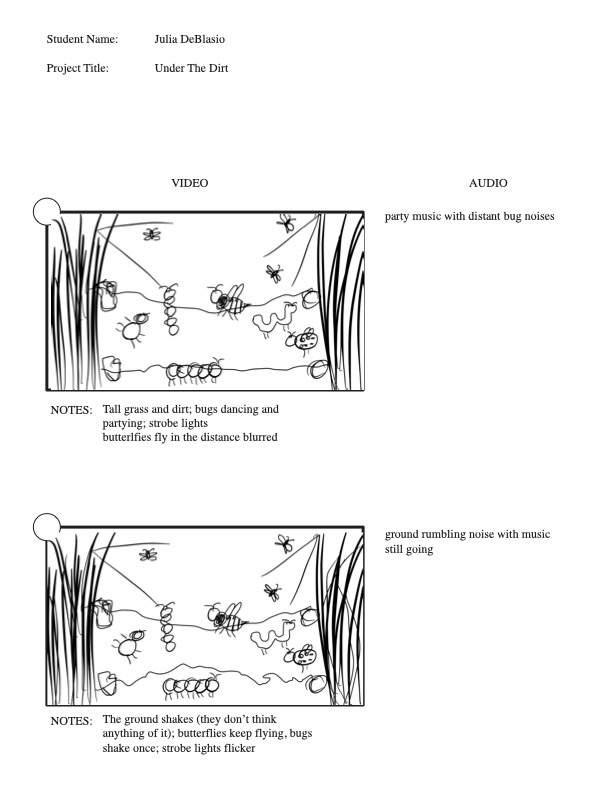
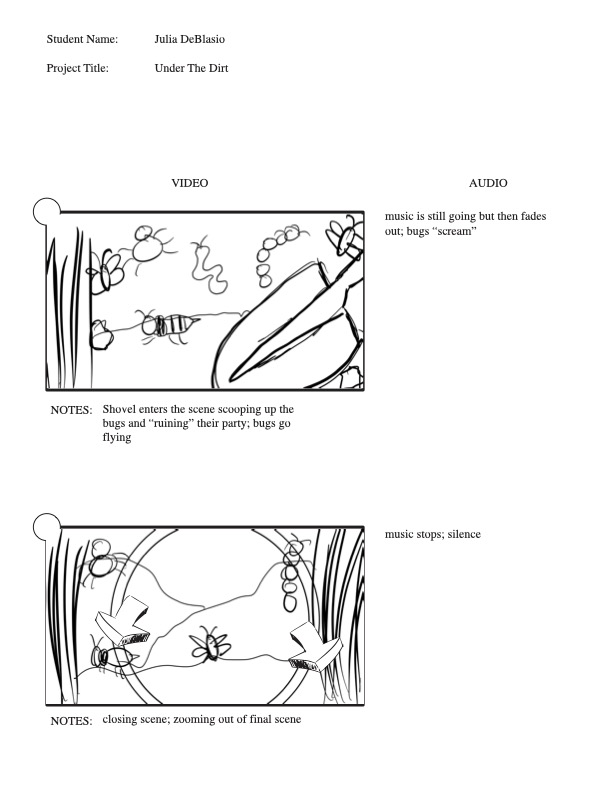
Storyboard
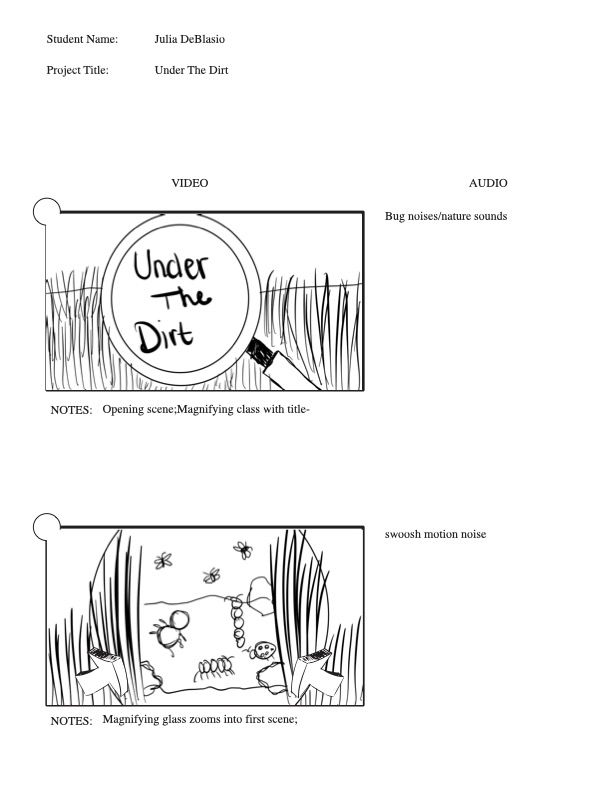
When designing my storyboard I knew I wanted to keep it short and simple. This was the first idea that had come into my head for an animation piece. Although, I did change a little bit of the design process from my storyboard to the final animation.
Mood Board
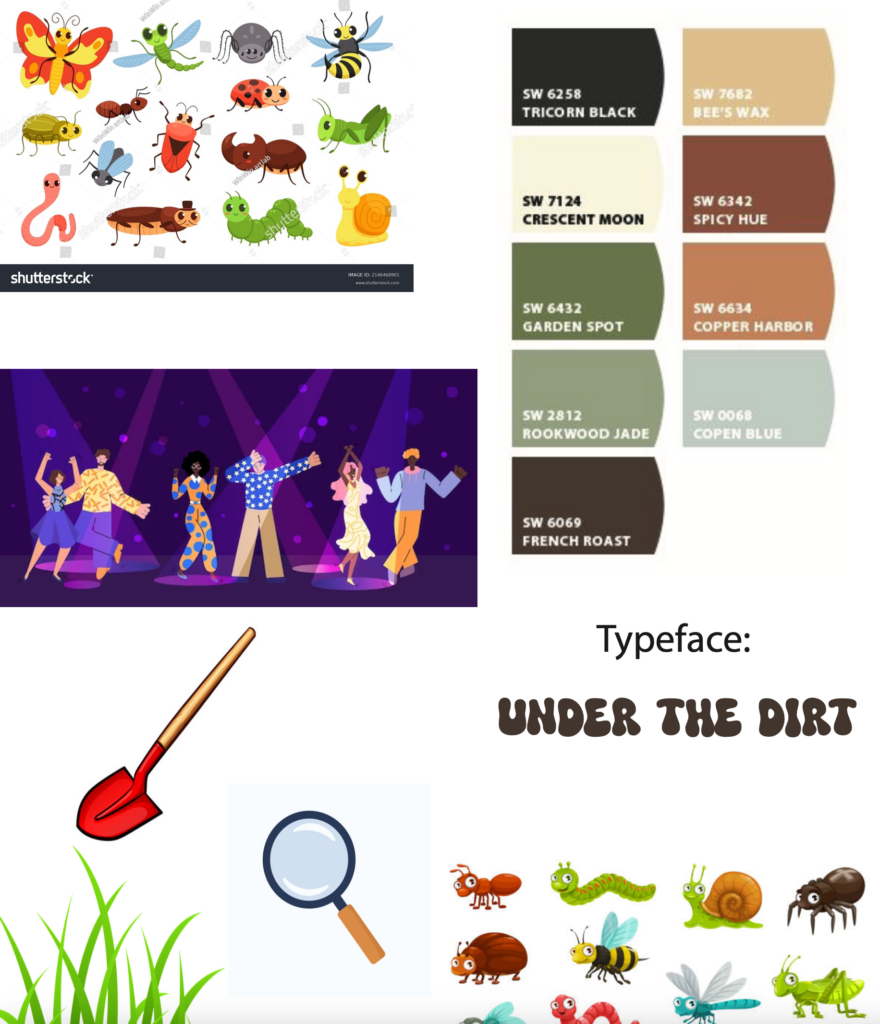
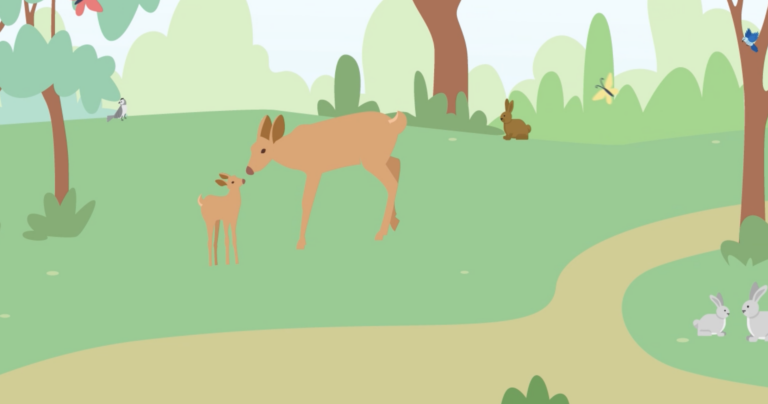
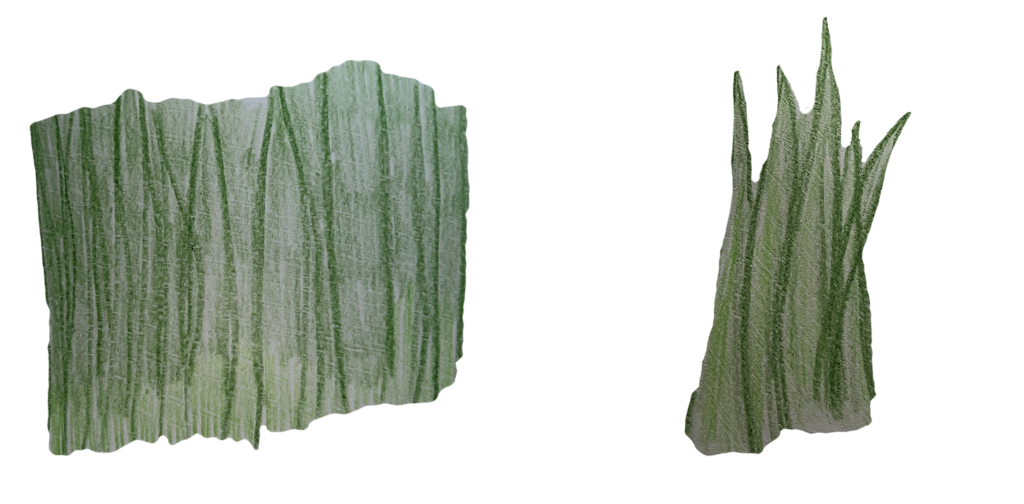
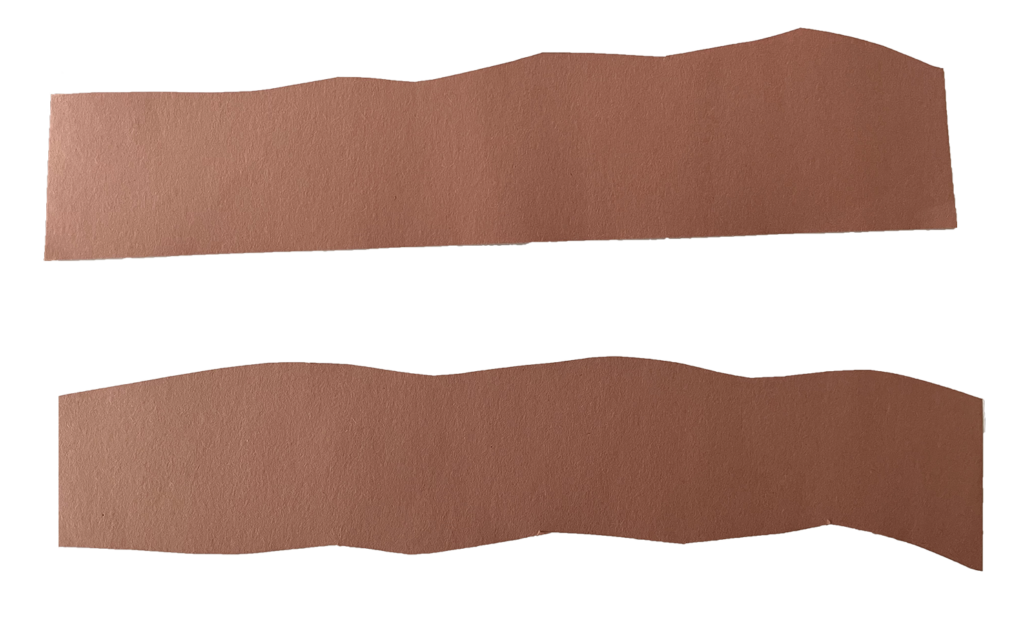
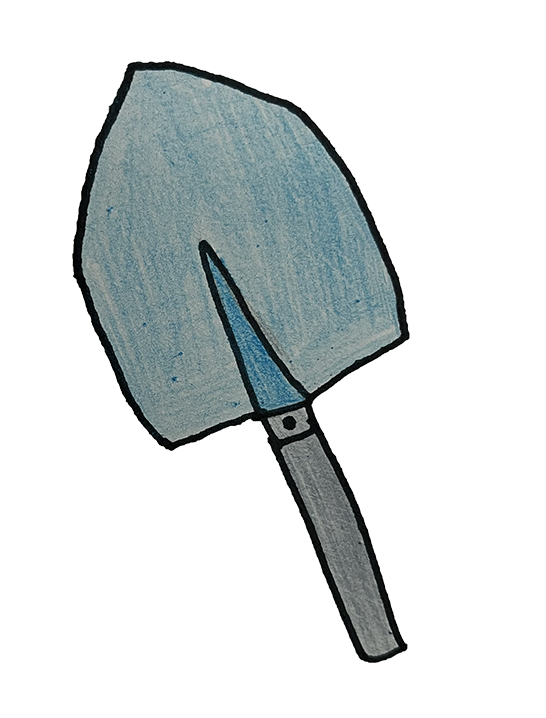
This was my original mood board that I had created for my animation. At first, I was thinking of using clip art but then decided to take a different turn. I love to draw so, I decided to draw each of my assets. I used construction paper and drew on each of the bugs and grass. I also cut out construction paper for the dirt. I decided to not create another mood board and jump right into the creative process and start animating.
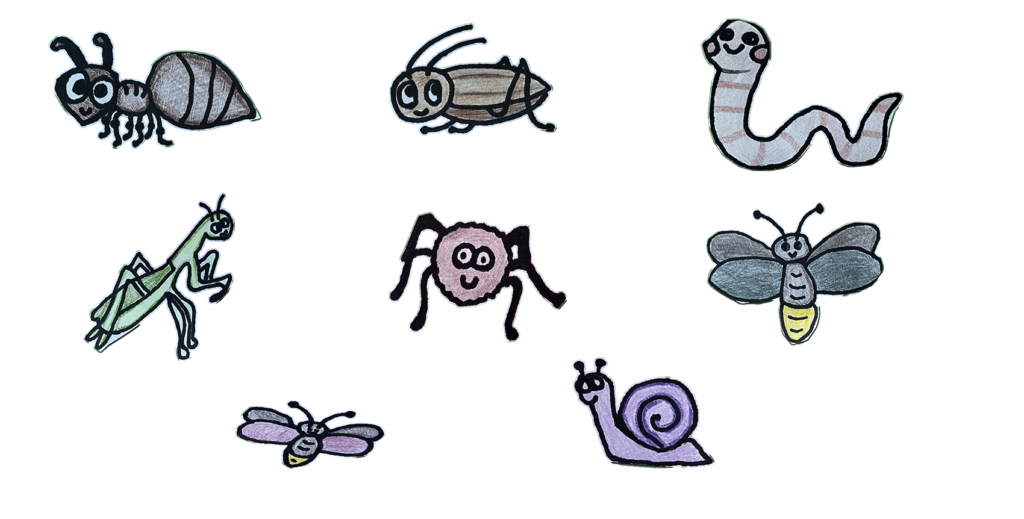
Diorama Assets
For all of my diorama assets I cut them out one by one, took a picture (with a white background for contrast) and imported them into Adobe Photoshop. Then, I selected each asset with the quick selection tool, clicked select>inverse, copy and pasted it into a new layer, deleted the original layer and saved it as a PSD file. I made sure to name all of my files before bringing them in to After Effects to ease my process in editing.
Creating the Animation
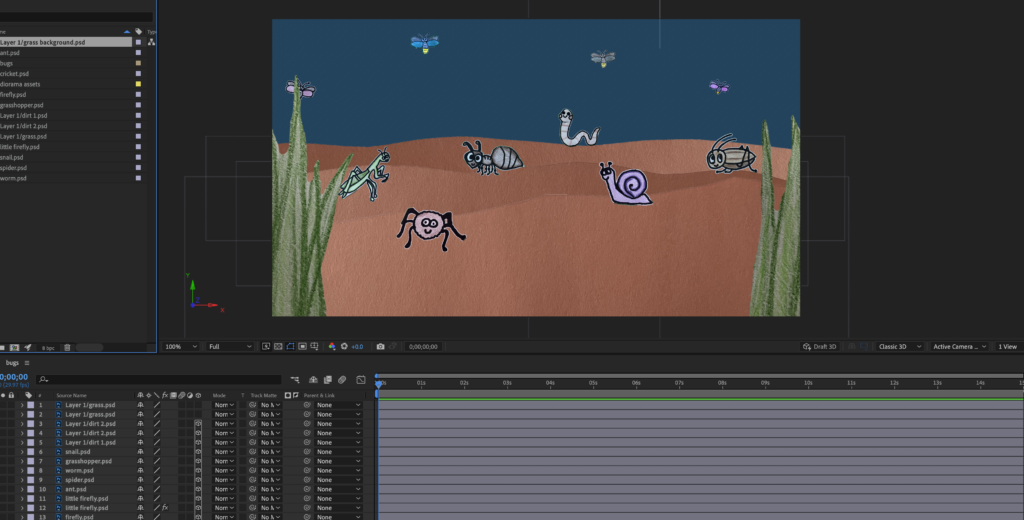
Once bringing in my assets into Adobe After Effects it was time to begin the process. I honestly did not know where to start. I knew how I wanted the “middle” of the animation to play out, so I began there and did my beginning and end animations last.
The Challenges
The only challenge that I had encountered when creating this animation would be moving assets into the 3D space. For example, when working on the opening scene I had to go back into the custom view and play around with moving the assets into the correct order they would be shown in camera. That was a little bit confusing but I eventually got the hang of it and moved the assets around to their correct spots.
The Final Outcome
Once all of my assets were animated in their own separate layers and brought into my output comp, I added in two spot lights to create a “rave” scene and a camera. I brought in music, multiple sound effects, turned on the motion blur and shadow and it was complete

I really enjoyed creating this animation, It was fun and exciting for me to use my own drawings and see them animate. Although I did struggle with the 3D space I think that It turned out great and even better than I had imagined in my head.
If you are interested in working with me, message me through my contact page!