Designing the Title Sequence
As a design student, I was asked to create a title sequence to compliment my Premier “how-to” assignment, with a topic of our choice. There will be a title treatment and three individual credits included. The duration had to be a duration of 30 seconds. Lastly, the assets had to be animated to add character.
Storyboard
The first story board that I had developed was a whole different theme and idea than my final result. I originally wanted to do a top down, kitchen countertop cutting different foods to display the credits and title of my “how to” video.
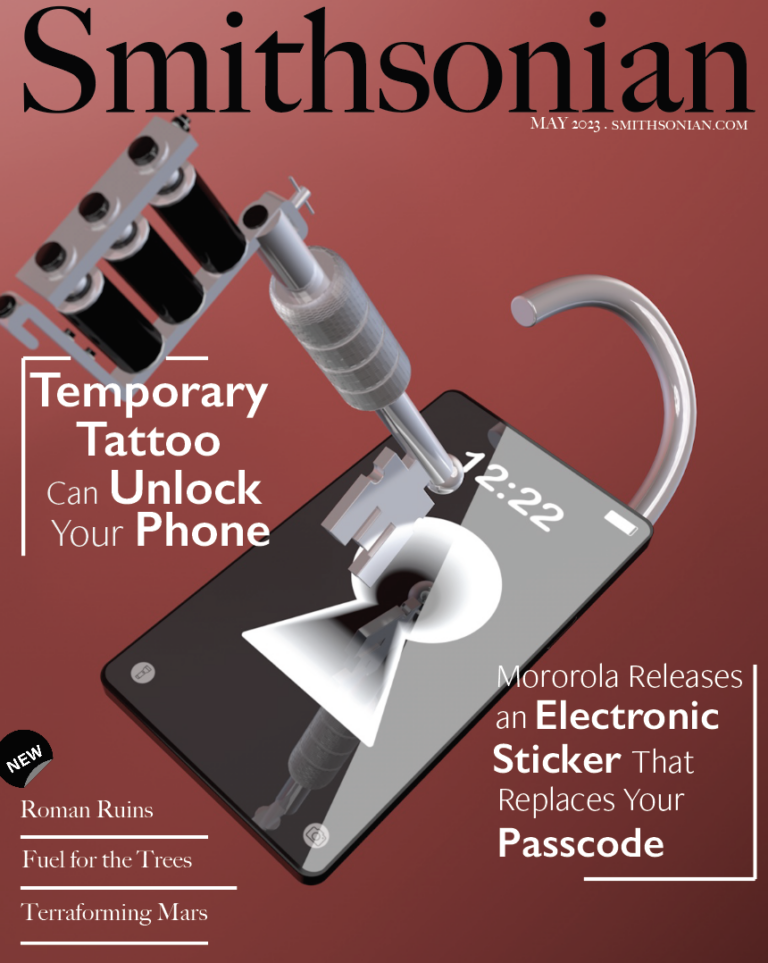
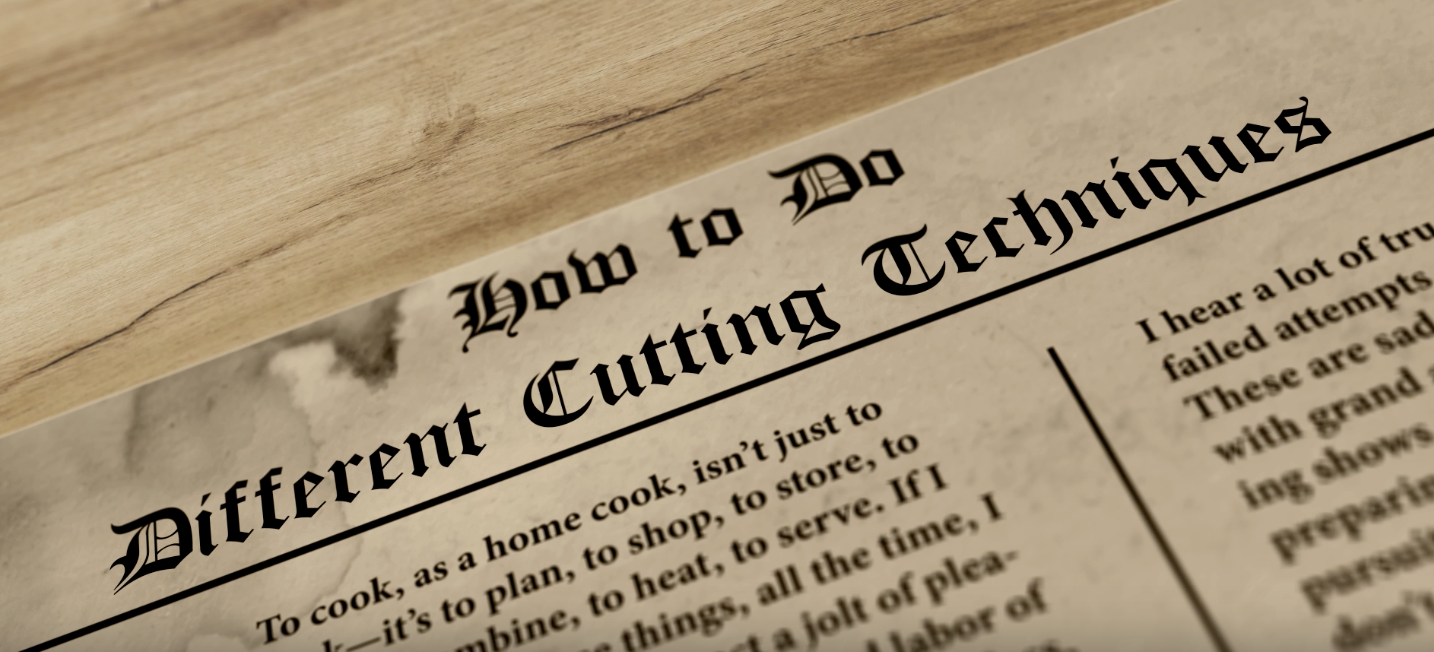
After getting some inspiration from other students when looking at their storyboards and listening to different background soundtracks, I decided to create a completely different idea. This idea was to be a retro/vintage themed newspaper. I wanted to have the title of the “how-to” video at the top as the “title” of the newspaper. I wanted the camera to pan down the newspaper to each “image”. The image would be different “retro” girls animating, some with a few credits.
As there is no point in showing my first storyboard, I did create a new one. Unfortunately, those images have been accidentally deleted. I quickly sketched the idea I had into my head and made a quick storyboard and began looking for my assets.
Title Sequence Assets
When I began looking for my assets, it was challenging. I knew I wanted the assets to have some sort of line art (black/white) instead of in color. Therefore, It took me a little while to look for 5 different but similar art works to match my theme.
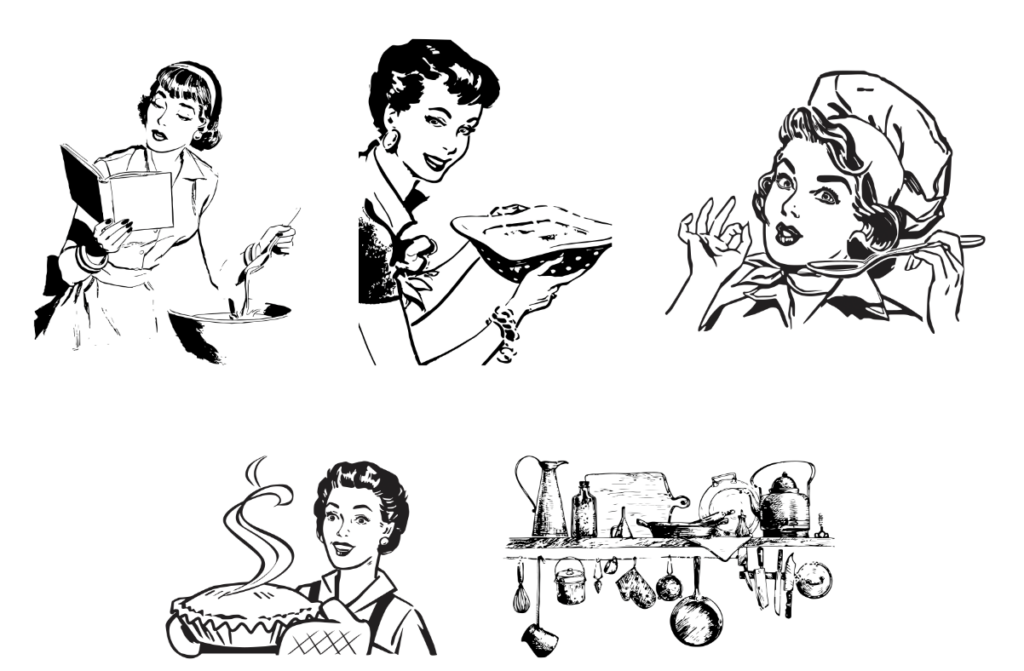
I took each asset one by one into photoshop where I had image traced them and put the parts of their body or objects that I wanted to animate into separate layers. I saved them as photoshop files and labeled each of them.
I then created a newspaper in Adobe Illustrator. I left the squares blank so that I would be able to put in my animated assets into them. I found some cooking text from different articles and placed them into the document as well and added the title, “How to Do Different Cutting Techniques”. I saved this as an Illustrator file and labeled it “newspaper”.
Creating the Animation
Once I got all of my assets completed, I began working on each asset that I wanted to animate, individually. I brought in the PSD files with all of my layers and had to piece together the assets.
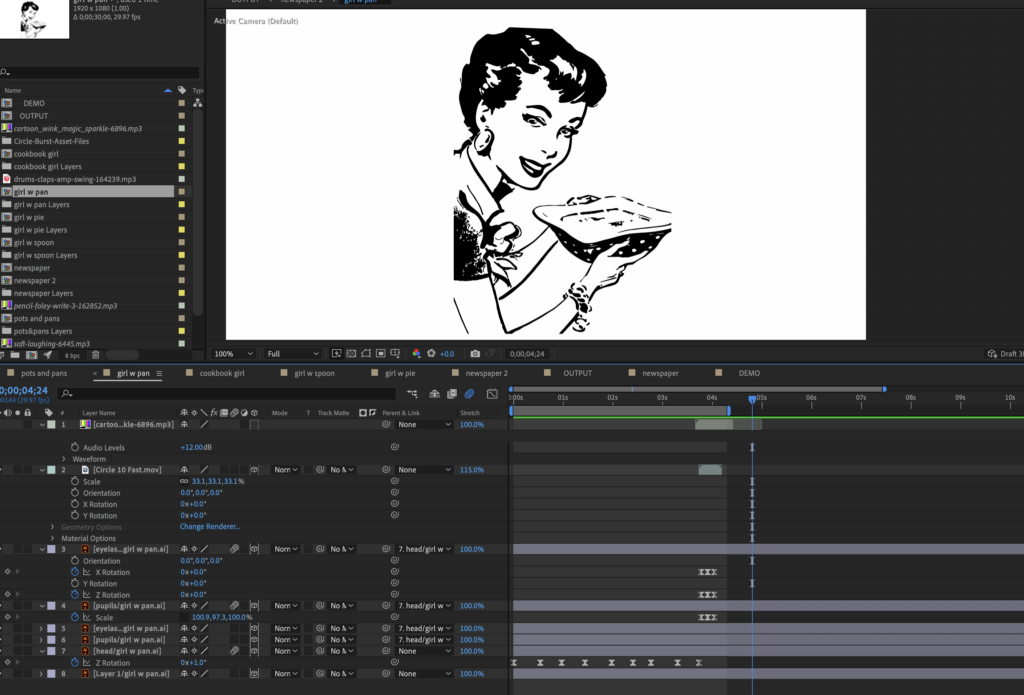
For example, I know I wanted to animate her head and her eyes. I started by key-framing her head back and forth with the rotation tool only by one degree and negative one degree. Next, I initially wanted to make her blink but her eyelash was connected to her nose so I just decided to make her wink with the left eye and key-framed using the X and Z rotations and making her pupil disappear once the eyelash is downward. Lastly, I added in a circle burst sparkle when she winks for more character.
After all of the assets were animated, I imported the newspaper file into After Effects and made an “output” composition. Then, I nested all of the assets into the output comp. I mucked around with the timing on when the animation would move and appear in camera. I then added in my music and a few sound effects for each image in the newspaper.
I brought in a camera and began composing my video. I used focus distance and blur level to create a blurred effect around each animation. I also changed the position on the camera so It was on an angle.
The Final Outcome
I am very pleased with the final outcome, It was very fun to see a little idea turn into a big success. It turned out exactly how I planned and wanted it to.
If you would like to see the final result of my how-to video, click the link down below!