Designing the Explainer Animation
As a design student, I was asked to create an explainer animation video using Adobe After Effects. This project consisted of us completing a one minute animation explaining our chosen topic. My topic was showcasing Sachuest Point National Wildlife Refuge in Middletown, Rhode Island.
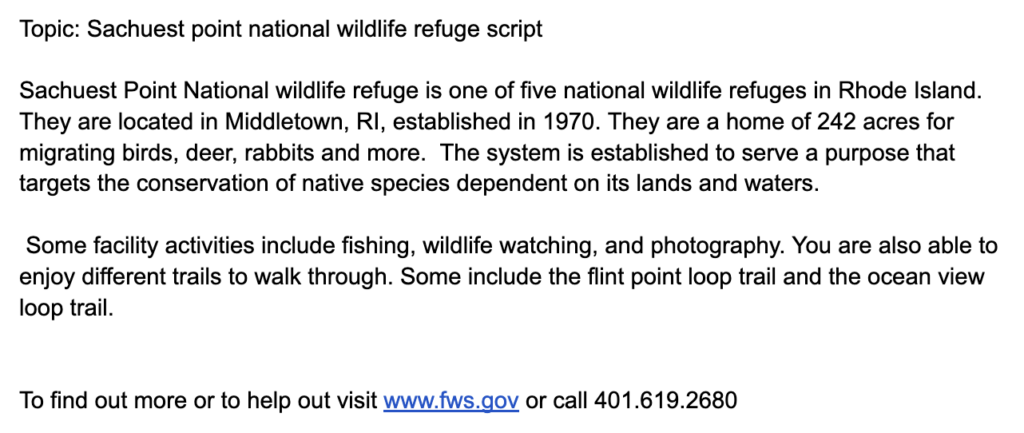
Script
Storyboard
Once I completed writing the script, I created a storyboard. I knew off the bat what style of animation I intended to use, cartoon style. I included images and notes on what will be animated.
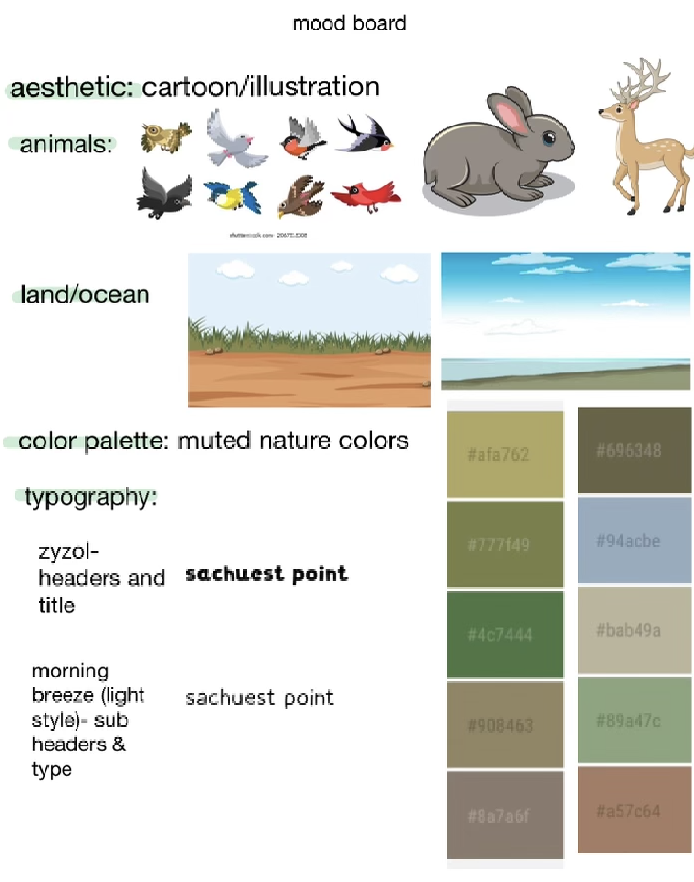
Mood Board
Animatic
I used Adobe Premiere to piece together this animatic and put all of my storyboard frames to create it. Creating this animatic gave me a visual idea on what I should be working on to complete for the final outcome. I recorded my script and put music over it as well.
Assets
I got all of my assets from IconScout.com. I downloaded all of them as SVG files, brought them into Adobe Illustrator and created different layers for each for the objects I needed to animate.
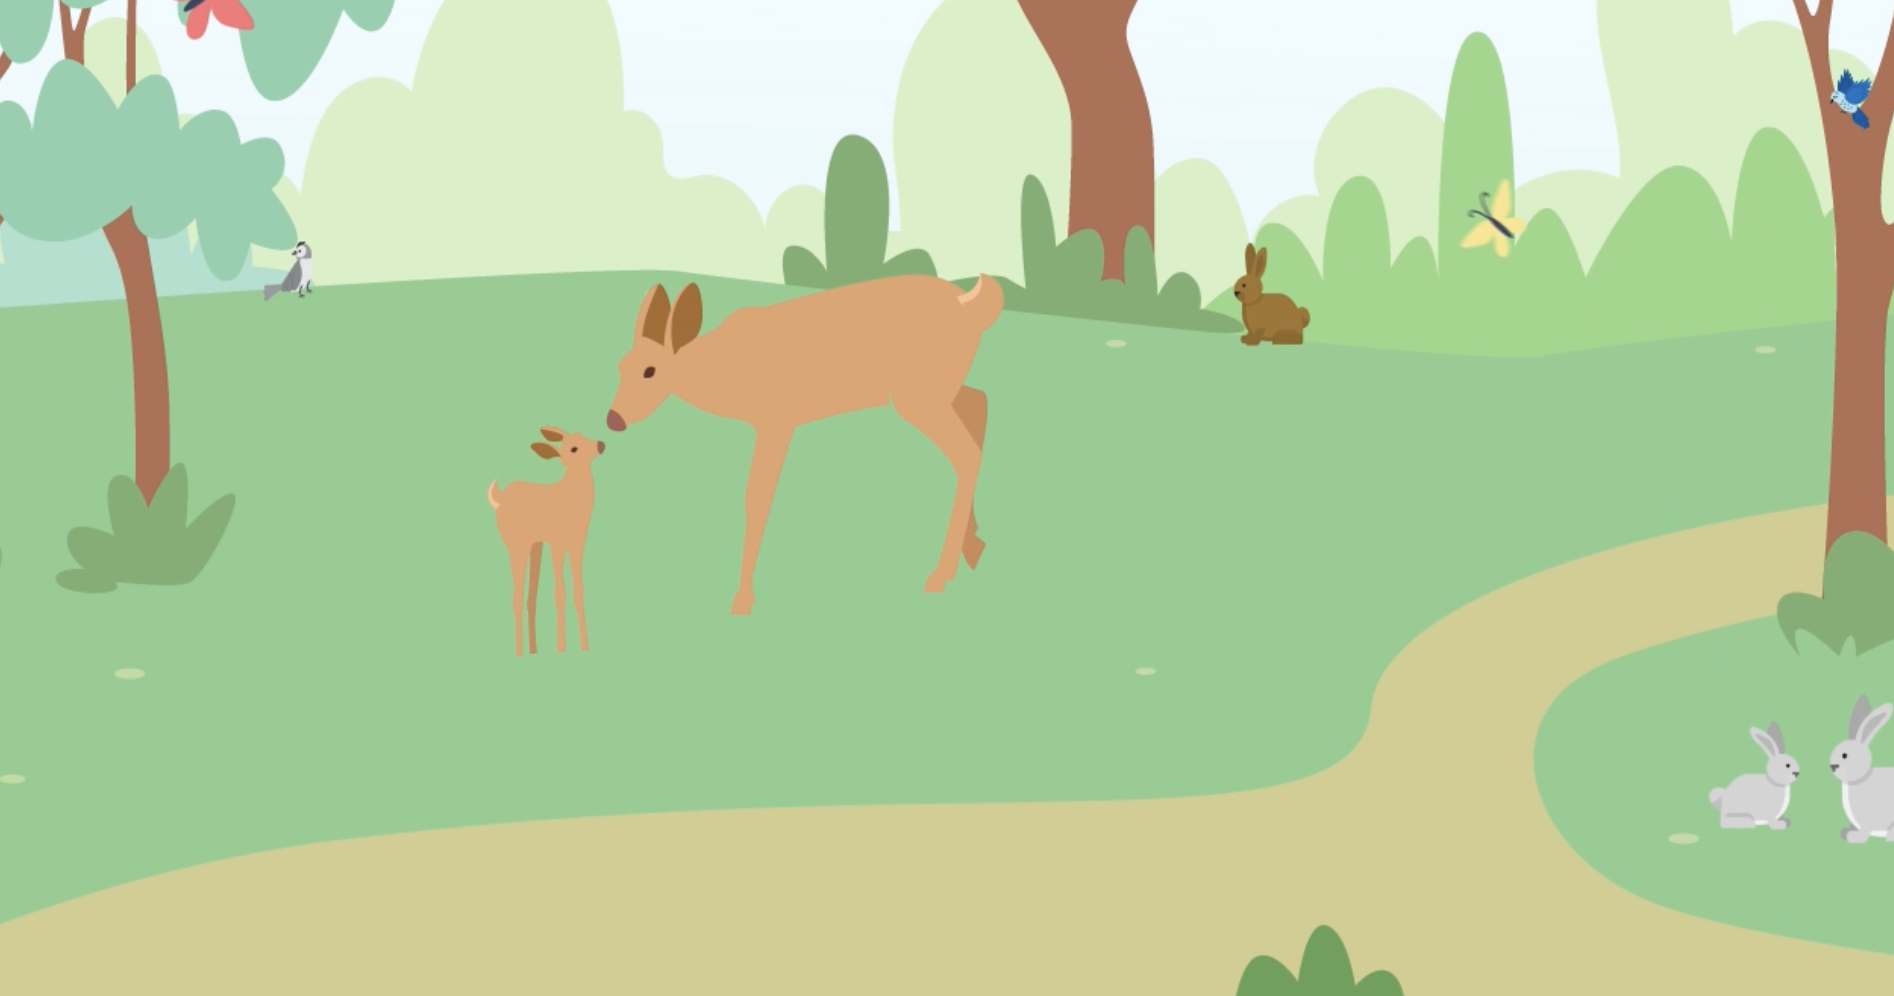
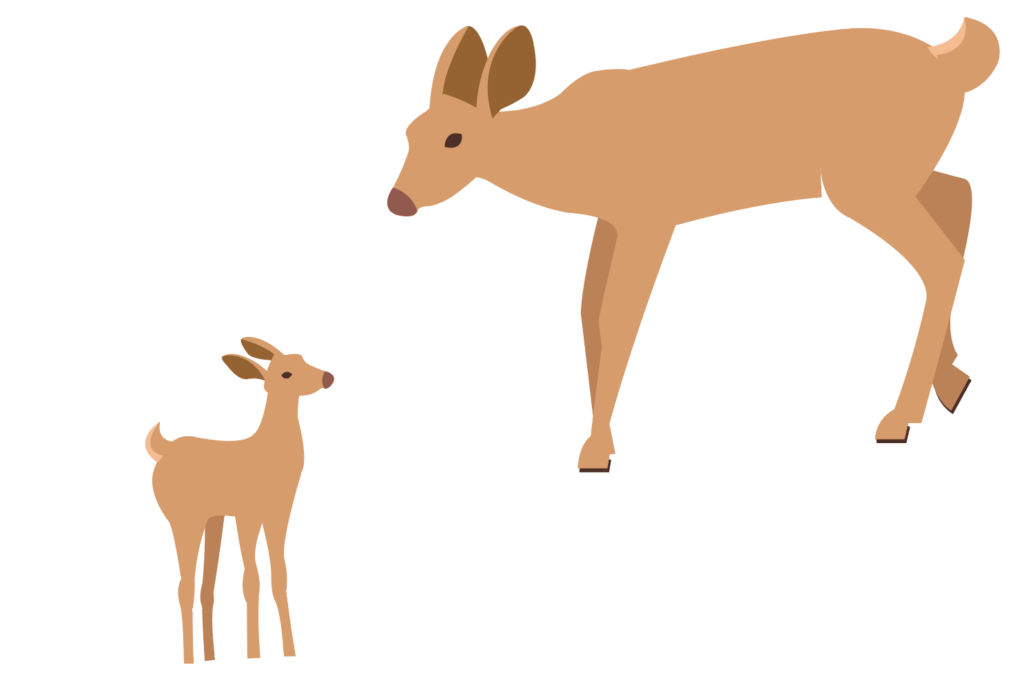
Animals


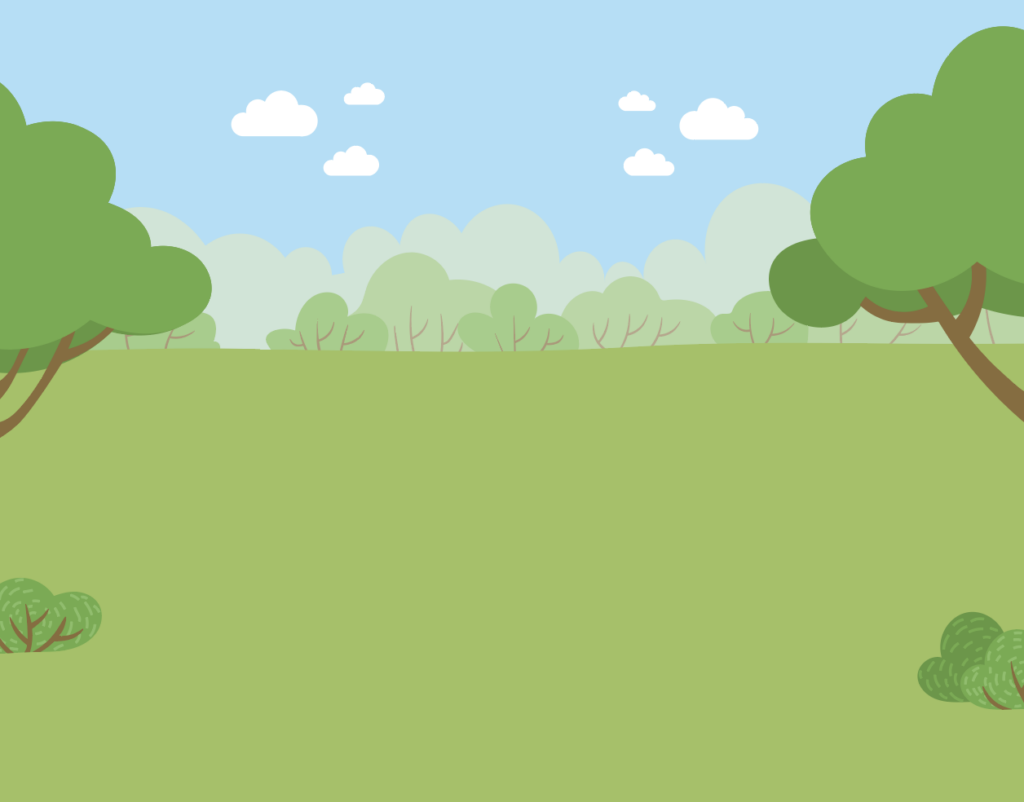
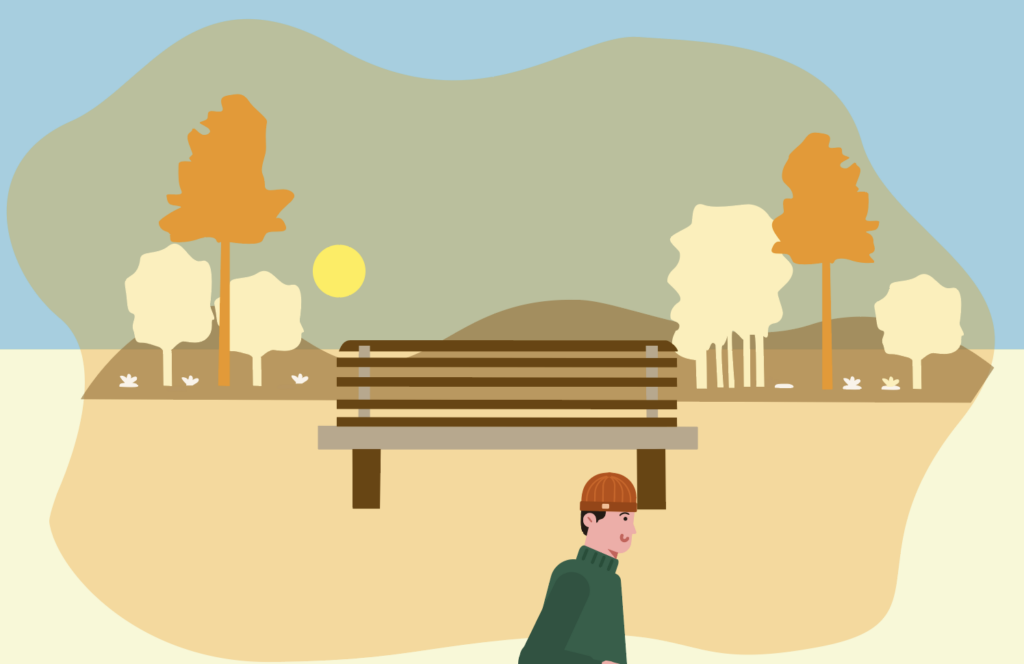
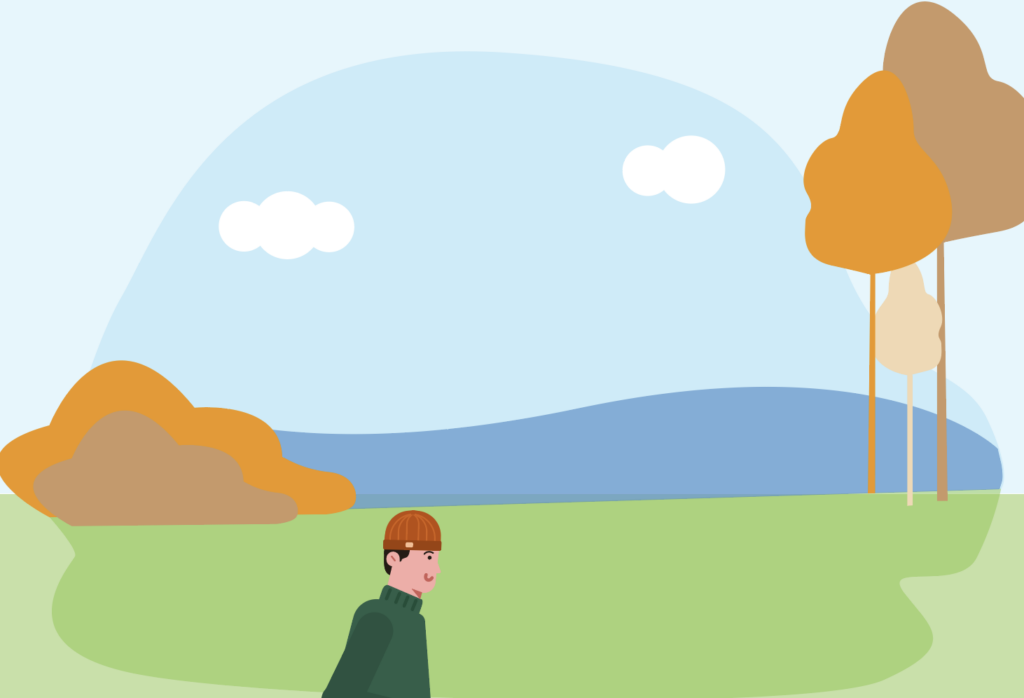
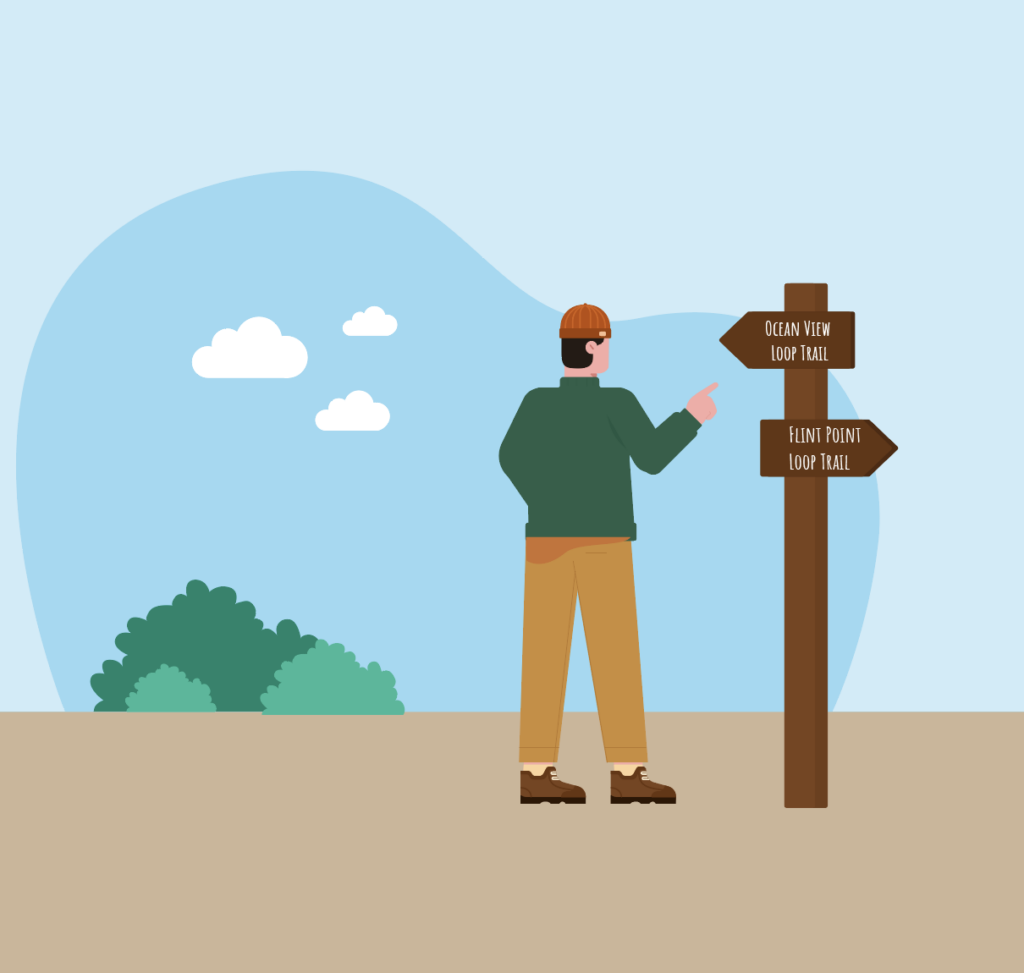
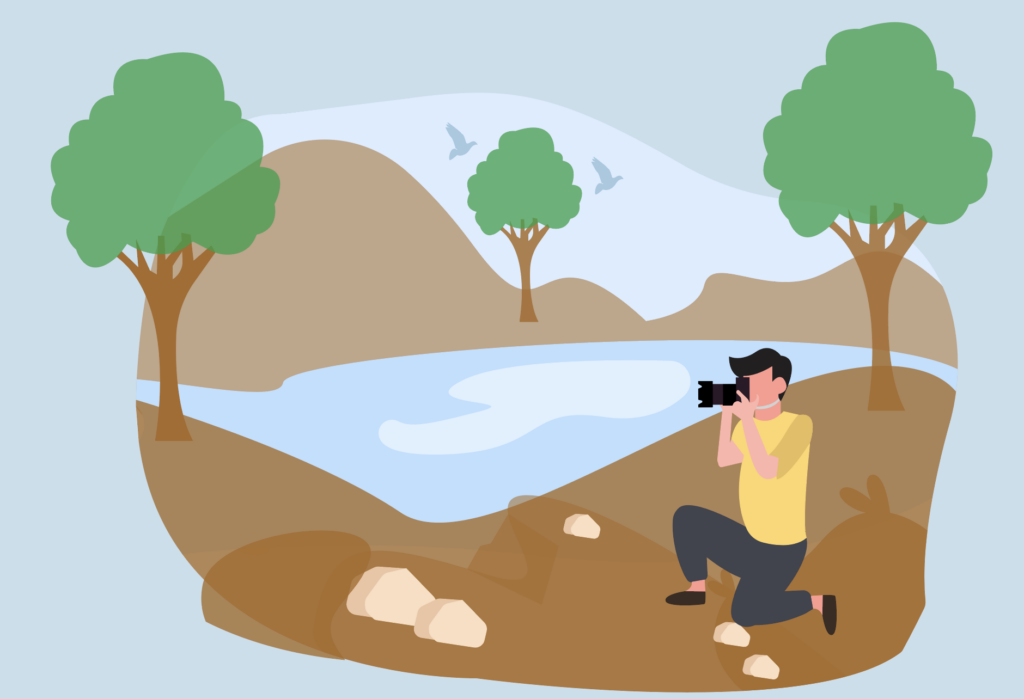
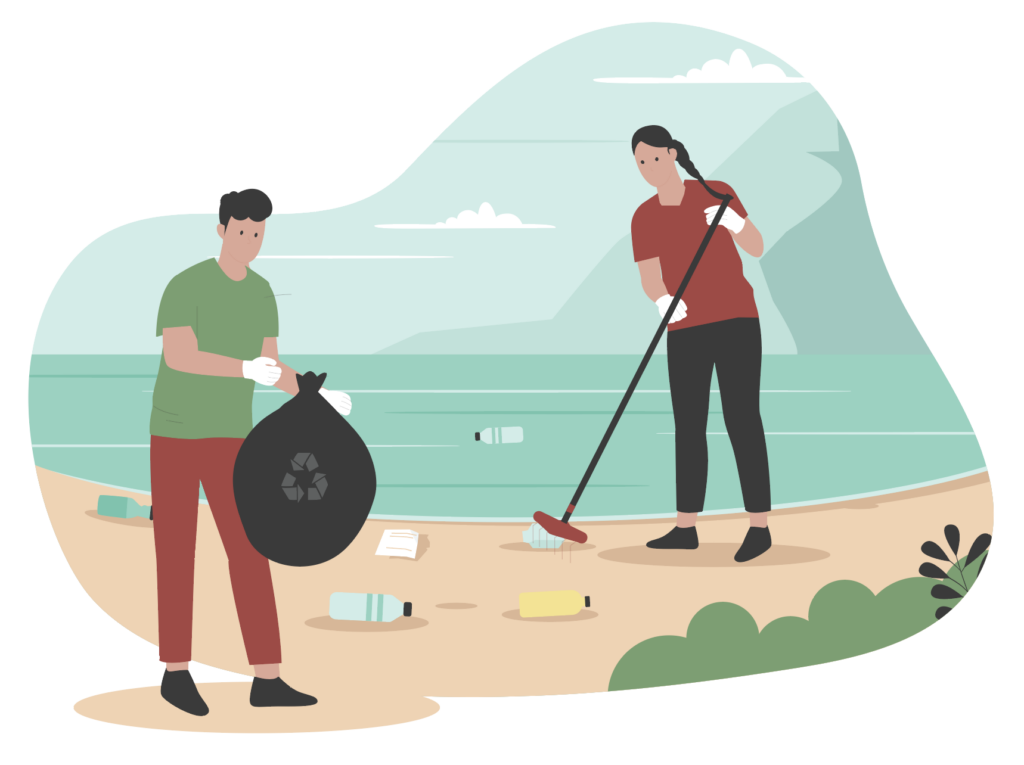
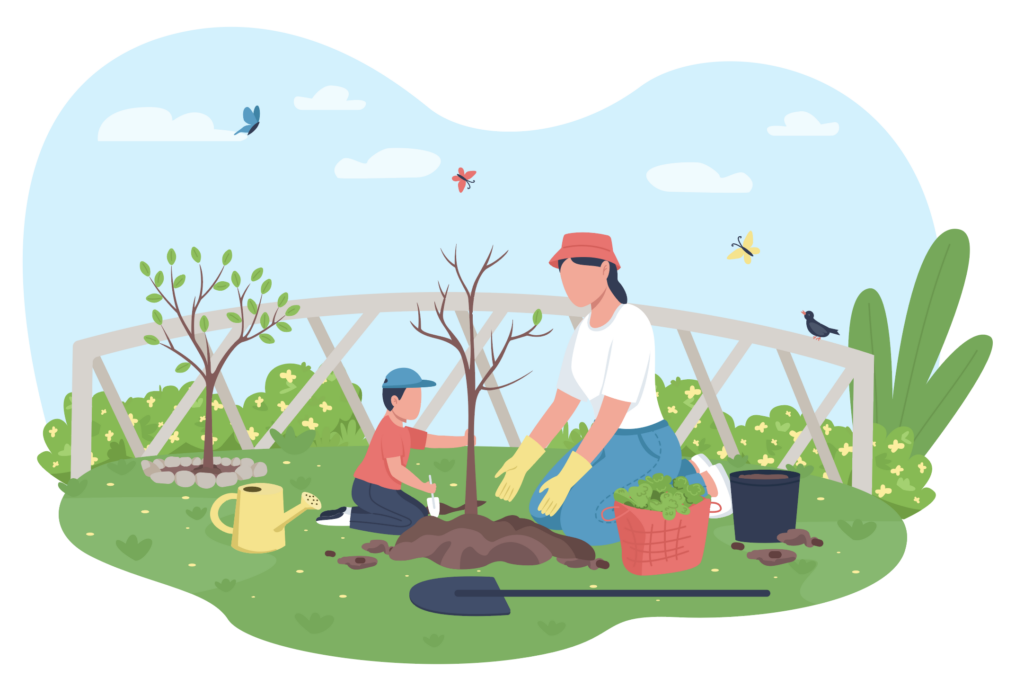
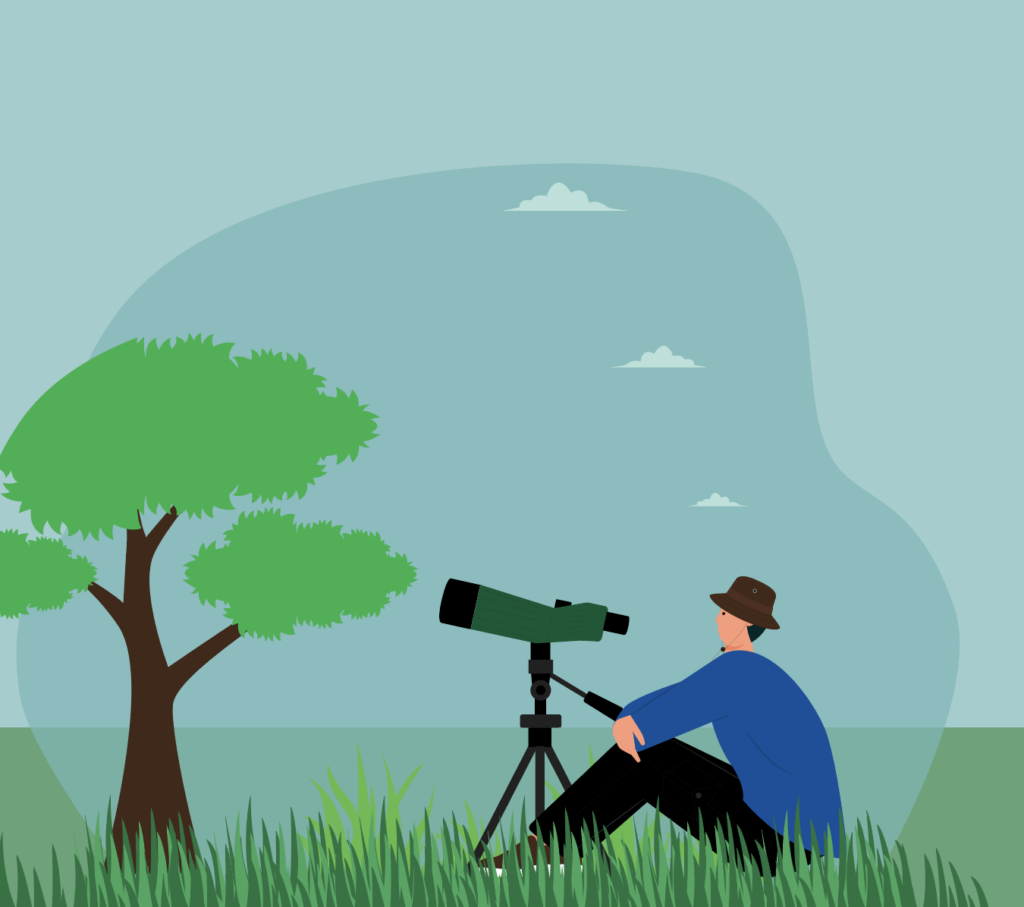
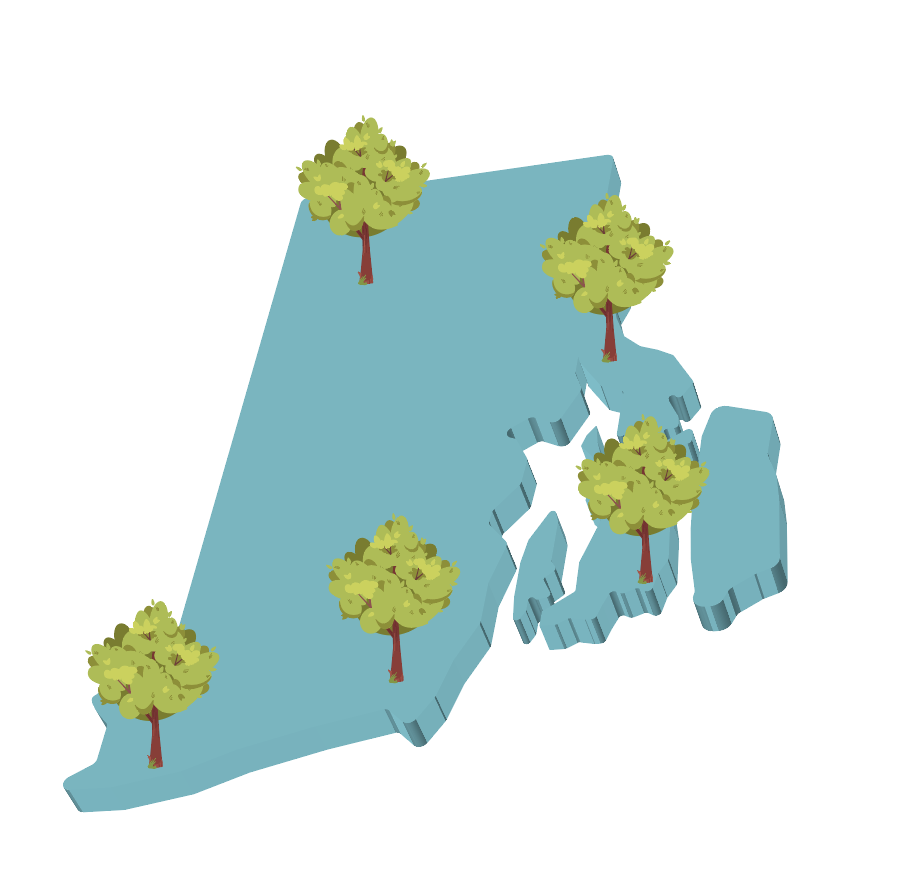
Scenes


Animation Process
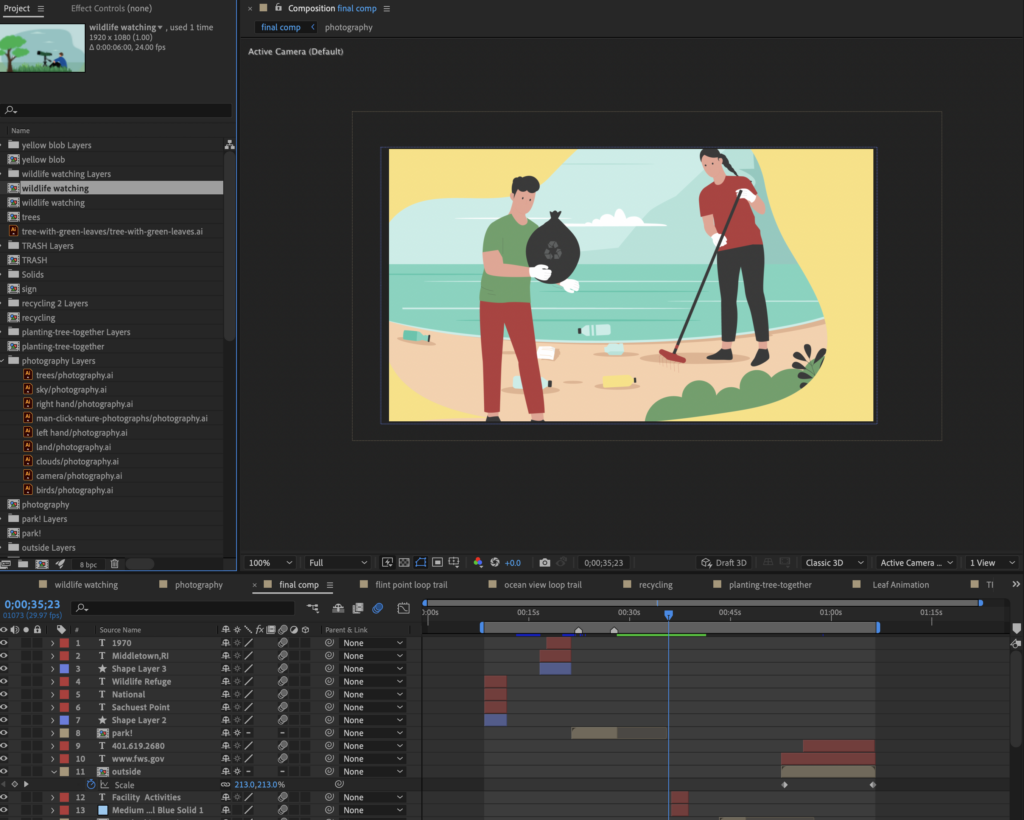
I brought all of my AI assets into Adobe After Effects. I worked on each scene in different compositions and nested them together in the final comp. I used various layers, effects and typography effects.
I am very pleased with the final outcome of this project. It is always exciting to see your first ideas turn final with a finished piece. It turned out exactly how I wanted it to.
If you want to learn more about Sachuest Point National Wildlife Refuge, click the link below!